7 Fit Checks You Should Do In-Store Before Buying Hiking Boots
Quick Answer: The most reliable in-store hiking boot fit tests involve simulating downhill pressure (kicking your toes forward) and walking on an incline surface if the store has one — standing still and walking flat ground rarely reveals the fit issues that actually cause blisters on trail.
Most people try on hiking boots the same way they’d try on sneakers, which misses the specific fit problems that only show up under trail conditions.

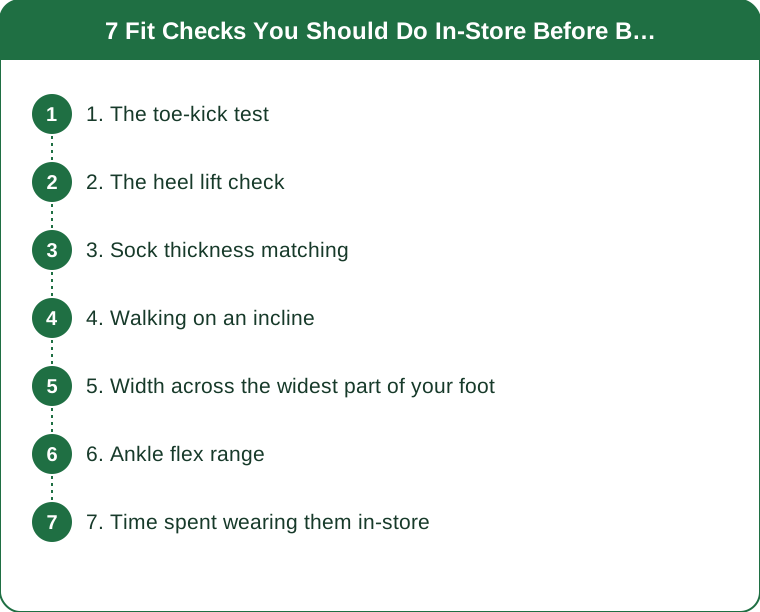
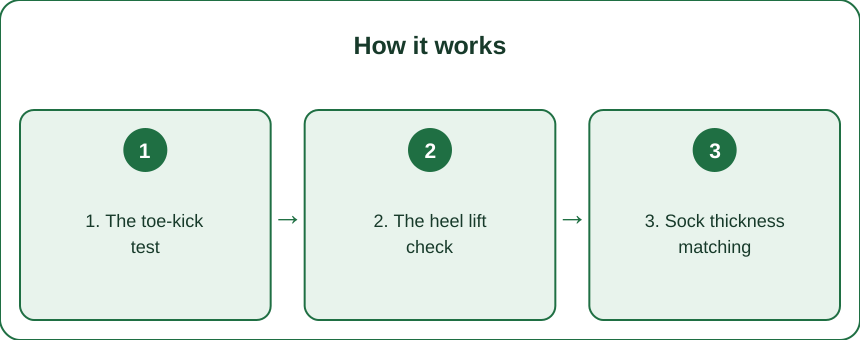
1. The toe-kick test
With boots laced normally, kick your toes forward firmly against the front of the boot, simulating downhill pressure. You should have roughly a thumb’s width of space — toes touching the front here means blisters and black toenails on steep descents.
2. The heel lift check
Walk a few steps and pay attention to how much your heel lifts within the boot with each step. Minor movement is normal, but significant heel lift signals a boot that’s too big or improperly laced, both of which cause blistering.
3. Sock thickness matching
Always try boots on with the actual sock weight you’ll hike in, not thin dress socks. A boot that fits with a thin sock will feel completely different — usually too tight — with a proper hiking sock.
4. Walking on an incline
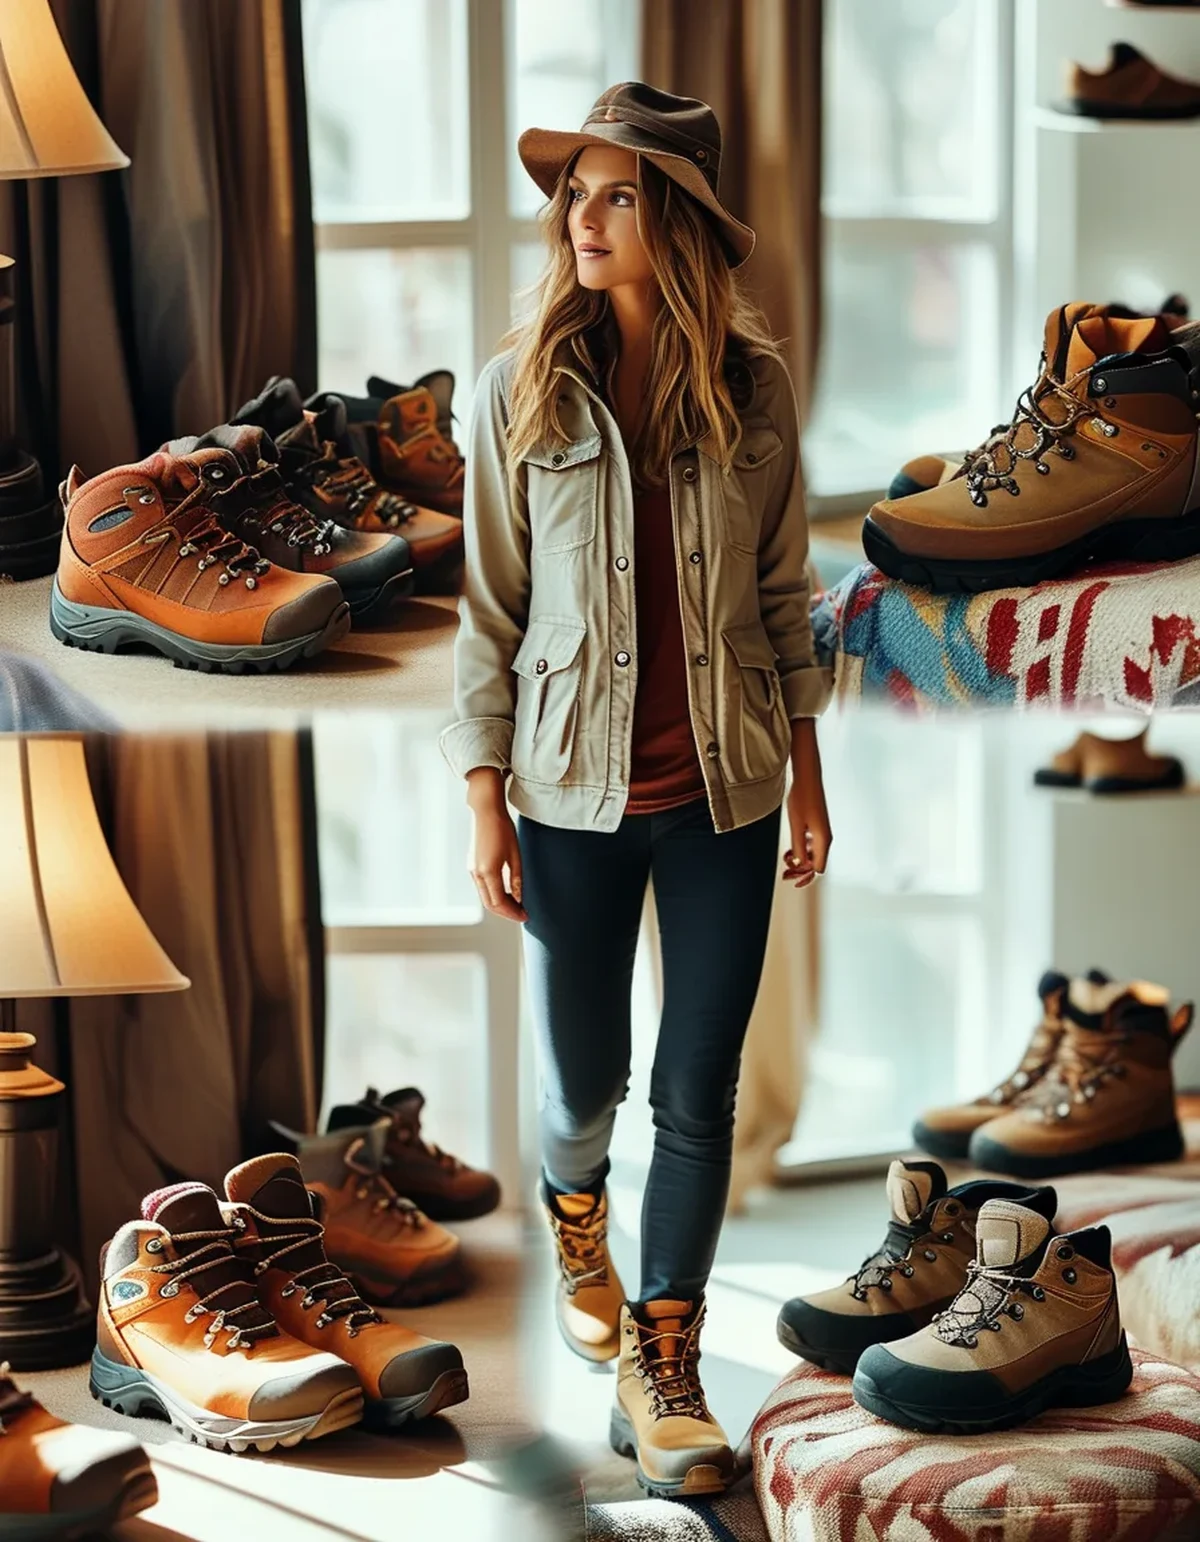
If the store has a ramp or angled test surface, use it to simulate uphill and downhill walking, since fit issues around the toe box and heel often only appear on angled terrain, not flat store floors.
5. Width across the widest part of your foot
Press a thumb along the sides of the boot at your foot’s widest point — there should be slight give, not painful compression. A boot that’s fine lengthwise but too narrow causes numbness and pain over miles.
6. Ankle flex range
Bend and flex your ankle in the laced boot to check whether the ankle support restricts movement uncomfortably or feels appropriately supportive without being rigid — this varies significantly by boot style and terrain intended use.
7. Time spent wearing them in-store
Wear the boots for at least 10-15 minutes while doing other things in the store, not just a quick 30-second test walk. Pressure points and rubbing spots often only become noticeable after the boot has settled onto your foot for a few minutes.
TL;DR:
- Test for a thumb’s width of toe space using the forward-kick method
- Try boots with your actual hiking sock weight, not thin store socks
- Use any incline surface available to simulate real trail conditions
- Wear boots at least 10-15 minutes in-store before deciding
A boot that passes all seven checks in-store is still worth a short break-in walk at home before committing to a long trail in them.
Keep Reading
This article is for general informational and styling purposes only. Fit, sizing, and product availability may vary.