7 Boot Fit Checks to Run Before You Ever Hit the Trail
Quick Answer: A boot that feels fine standing still in a store can still fail on trail — these seven checks simulate the real stress points (downhill toe pressure, heel lift, ankle flex) that only show up under trail conditions, catching a bad fit before it costs you blisters miles from the trailhead.
Boots that felt perfect walking around the store can turn into a painful mistake three miles into a downhill stretch — these checks catch that gap at home instead.

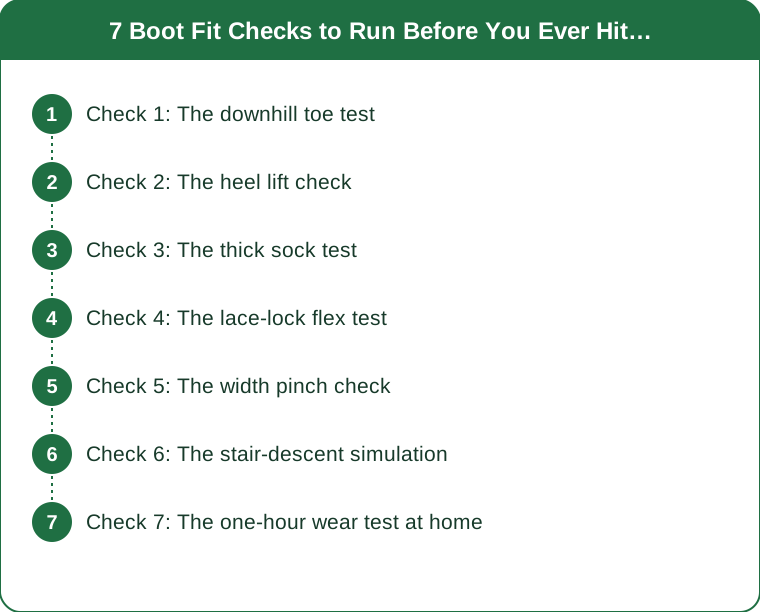
Check 1: The downhill toe test
Stand on a decline (stairs work) or kick your toes forward hard against the front of the boot. If toes jam painfully into the front, the boot is too short for downhill use, even if it felt fine on flat ground.
Check 2: The heel lift check
Walk normally and pay attention to how much your heel rises inside the boot with each step. Some minor movement is normal when boots are brand new, but noticeable heel lift is a strong predictor of blisters on longer hikes.
Check 3: The thick sock test
Try boots on with the actual hiking socks you plan to wear on trail, not thin everyday socks — sock thickness changes fit meaningfully, and a boot fitted with the wrong sock thickness will feel different once you’re actually hiking.
Check 4: The lace-lock flex test
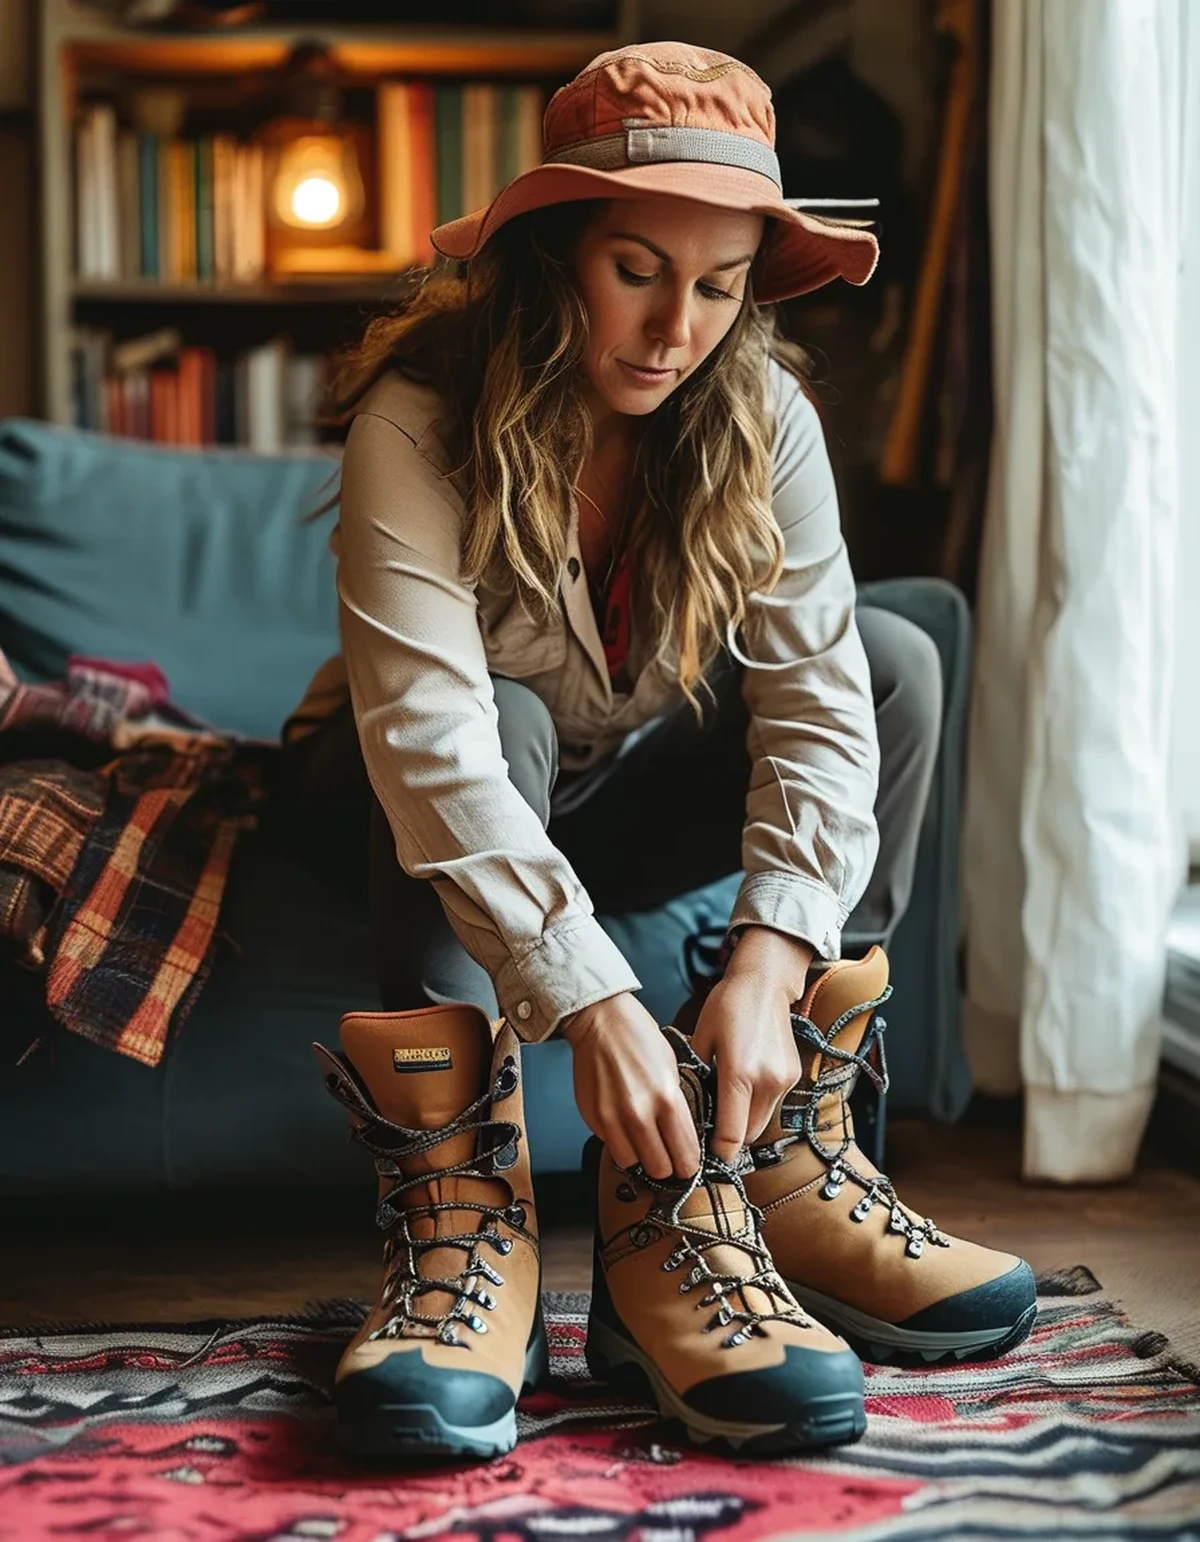
Lace up fully, then flex your ankle forward and back repeatedly. Painful pressure across the top of your foot (often called lace bite) at this stage means either the lacing pattern or the boot’s shape doesn’t match your foot’s volume.
Check 5: The width pinch check
Press your thumb along the widest part of your foot inside the boot. Any sharp pinching, rather than gentle snugness, signals the boot runs too narrow for your foot width, a problem that breaking-in rarely solves.
Check 6: The stair-descent simulation
Find actual stairs and walk down several steps deliberately. This mimics trail descent stress far better than flat-floor walking and often reveals toe-jam or heel-lift issues that don’t show up until this specific motion.
Check 7: The one-hour wear test at home
Wear the boots around the house for at least an hour doing normal movement before committing to any outdoor test. Hot spots or pressure points that show up within that hour predict where blisters will form on a real hike, giving you a chance to return or exchange before it’s too late.
TL;DR:
- Test downhill toe pressure and heel lift, not just flat-ground comfort
- Always try boots on with your actual hiking sock thickness
- Flex-test with laces fully done up to catch lace bite early
- A full hour of at-home wear reveals hot spots before they become blisters on trail
Seven checks at home cost nothing and catch the exact problems that only reveal themselves miles into a hike otherwise.
Keep Reading
This article is for general informational and styling purposes only. Fit, sizing, and product availability may vary.