7 Hiking Boot Fit Checks to Do in the Store Before You Ever Hit a Trail
Quick Answer: Before buying, check: toe room on a decline, heel lock during walking, width across the ball of the foot, ankle flex range, sock thickness match, lacing adjustability, and a genuine incline test if the store has one. Skipping any of these is how boots that feel ‘fine’ standing still cause real pain by mile 3.
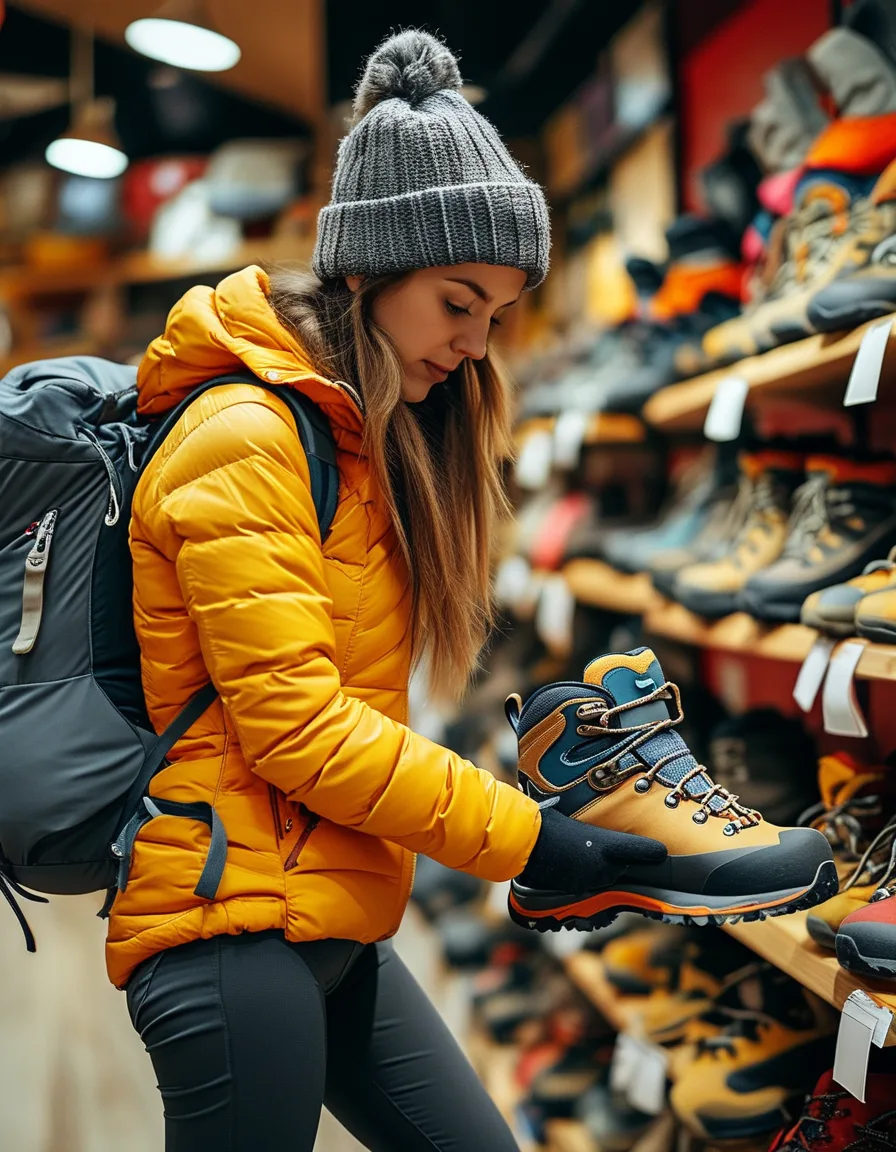
Hiking boot pain almost always traces back to a fit issue that was actually checkable in the store — it just wasn’t checked properly. Here are the 7 tests that catch problems before they become blisters on the trail.
1. Toe room on a downhill decline
Stand on a decline board (most good outdoor stores have one) or simply walk down a few stairs. Your toes should not hit the front of the boot — there should be roughly a thumb’s width of space. This single check catches the #1 cause of black toenails on descents.
2. Heel lock while walking, not just standing
Walk several steps, not just stand still. Your heel should stay locked in place with minimal up-and-down slipping. Standing-still heel fit is deceptive — the real test only shows up in motion, which is why store walking loops or short outdoor test walks matter.
3. Width across the ball of your foot
Boots that pinch across the widest part of your foot won’t stretch enough to fix it later, especially in stiffer leather boots. If it’s tight there in the store, it stays tight on mile 8 — this isn’t a break-in issue, it’s a wrong-width issue.

4. Ankle flex range in the actual boot height you need
Flex your ankle forward and side to side while wearing the boot. Mid and high-cut boots should support without completely blocking natural ankle movement — overly rigid ankle support in boots meant for moderate terrain often causes compensatory strain elsewhere.
5. Matching the exact sock thickness you’ll actually hike in
Fit boots wearing the same sock thickness you plan to hike in, not thin dress socks. A boot that fits with thin socks and hiking-weight socks are two different fits entirely — this single mismatch causes a huge share of at-home fit surprises.
6. Lacing adjustability across the whole boot
Good boots let you adjust tension differently across the forefoot, midfoot, and ankle (often via separate lacing zones or hooks). Test this in the store — if you can’t get a snug midfoot lock without also crushing your toes, the lacing system doesn’t fit your foot shape.
7. A genuine incline and decline test, not just flat-floor walking
If the store has a ramp or decline board, use it. Flat floor testing misses the exact motions (toe jam on descent, heel lift on ascent) that cause the most common hiking boot complaints — this is the single most skipped check and the one that matters most.
How long should you wear boots in-store before deciding?
At least 10-15 minutes including some incline testing — a 2-minute standing fit check misses nearly everything on this list.
Should new boots feel perfect immediately, or is some break-in normal?
Good-fitting boots should feel comfortable immediately with no pinching or hot spots; genuine break-in affects stiffness and give, not fundamental size or width issues.
What if one foot is noticeably larger than the other?
Fit to your larger foot and use an insole or thicker sock on the smaller side — this is extremely common and easily solved, not a reason to compromise on the larger foot’s fit.
TL;DR:
- Check toe room on a decline, not just standing flat — this catches the #1 descent pain cause
- Walk to test heel lock; standing-still fit is deceptive
- Fit with the exact sock thickness you’ll actually hike in
- Use any incline/decline board available — flat floor testing misses most real fit problems
Keep Reading
This article is for general informational and styling purposes only. Fit, sizing, and product availability may vary.